Assembly Instructions
Instructions for installing Lava Rock Grillconverter with EasyFit Mounting System
- Remove contents from package. Ensure that all material has been correctly supplied.
- Remove the lava rocks from the packaging and pour into grill carrier and spread evenly in carrier, there should be sufficient lava rock to cover carrier with a single layer.
- Remove the grill grates and burner covers from your grill.
- Rest the grill carrier with with lava rocks carefully on the burners so as not to damage burners.
- Thread the lower end of each of the 4 hanger brackets into the corner holes of the grill carrier(shown in picture above)
- Replace your grill grates.
- One by one, use the hook of the hanger tool to hold the other side of the hanger bracket and pick up to hang over the grill grate. Repeat with the other 3 hanger brackets, at this stage the entire grill carrier with lava rock will be suspended by the hanger brackets from the grill grates. Use the hanging tool to rearrange any rocks that may have moved during the installation process.
Instructions for installing Lava Rock Grillconverter with Adjustable Mounting System
- Unpack contents of box and ensure all parts are included per the included parts list. In addition to the list, we have included white stickers which will be explained in Step 2.
- Determine the location for the Leg – Top: VR0902501.
- Assembly of your new V-Rock Grill Carrier
Take VR6001201 600 Grill Carrier to your grill. Remove the grill grates, and any burner covers or flavorizer bars so that your burners are exposed. Place the Grill Carrier into your grill firebox and decide where you want to attach the legs. Make sure that the points you choose are not directly over the burners, the legs should rest on the base of the firebox of your grill. Use the white stickers provided to mark the 4 points on the grill carrier where you will mount the legs. Then decide which direction you want your converter to slant, back to front or front to back, this will determine whether meat fats will run off to the front or back of your grill. This will then also determine where you will place the drip rail if you choose to install it.
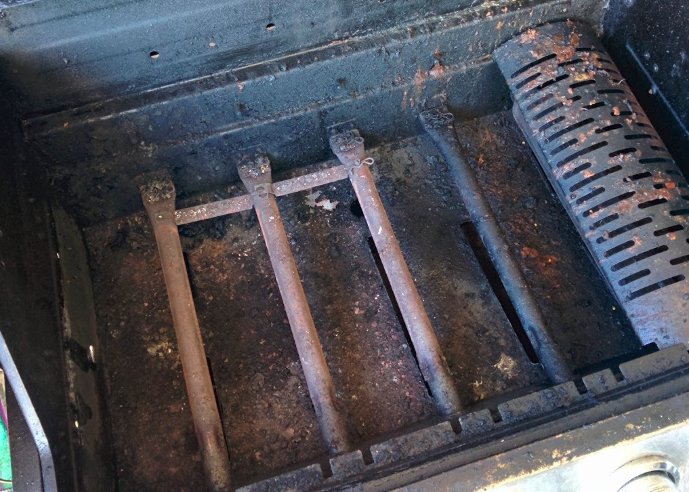
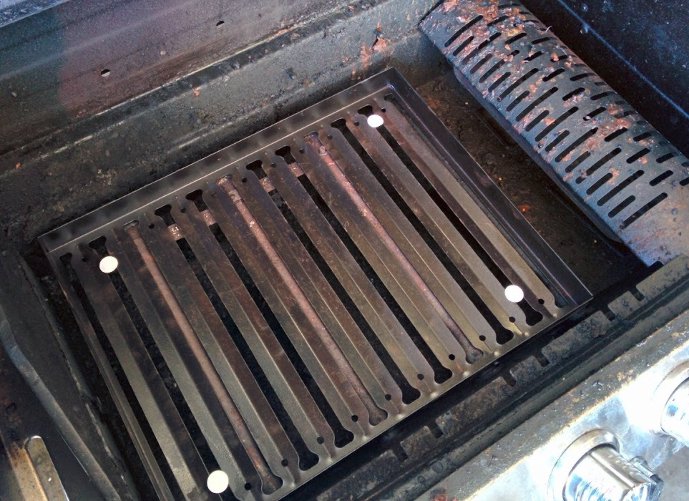
Take the grill carrier out of the grill firebox and return to your assembly area.
Note: Keep all fasteners hand tight during the initial assembly process
STEP 1:
VR0002501 Bracket – top hat
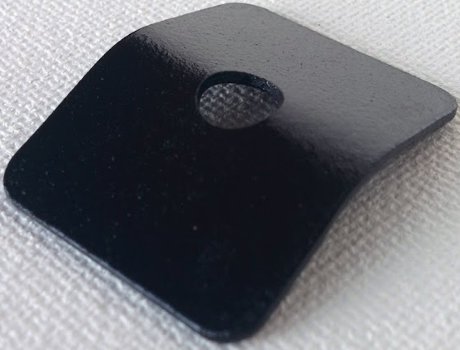
VR0902501 Leg – top
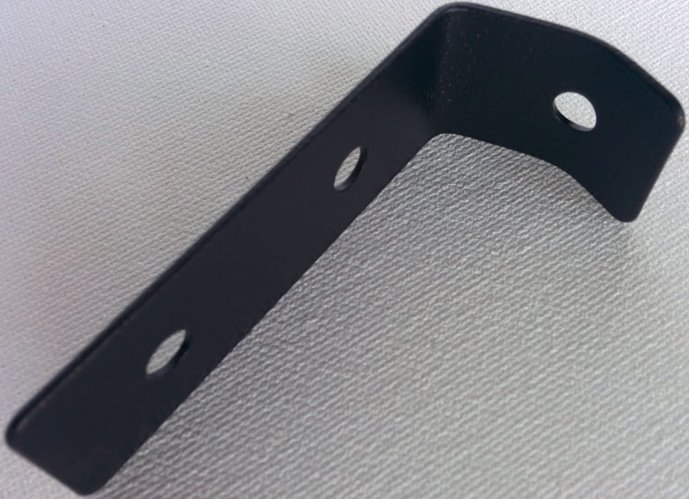
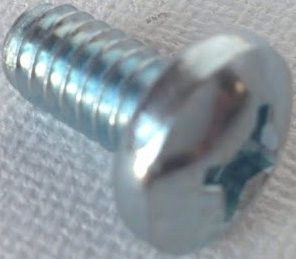
VR0100501 Screw – 10 mm
VR0050801 Nut – 4 mm
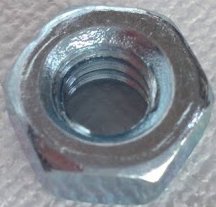
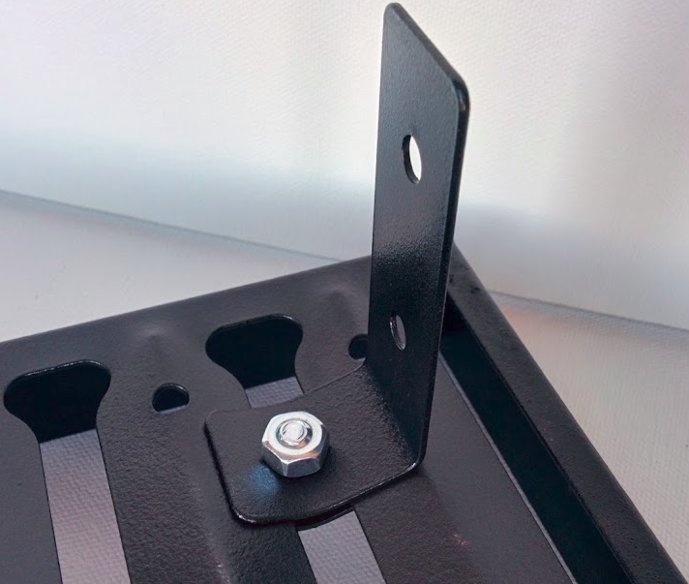
Place VR0002501 Bracket – top hat on the inside of the Grill carrier where the sticker is placed, and place VR0902501 Leg – top on the underside of the Grill carrier and attach using 1 X VR0100501 Screw – 10 mm and VR0050801 Nut – 4 mm. Repeat same process for each leg(4 total)
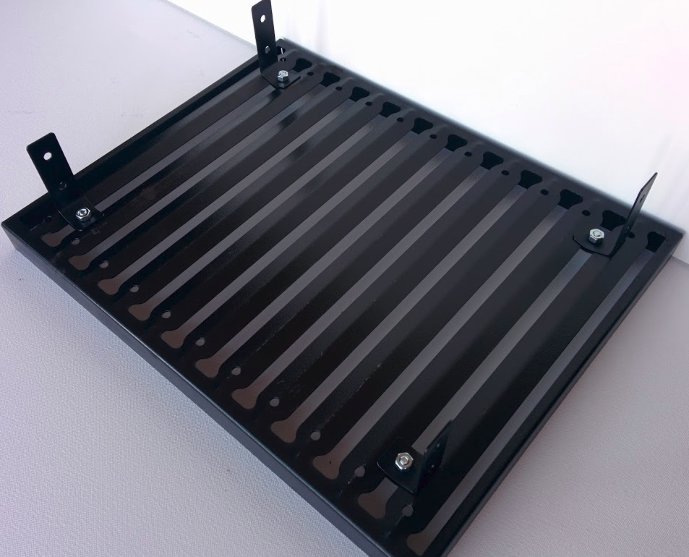
STEP 2:
VR0902501 Leg – Top

VR0100501 Screw – 10 mm

VR0050801 Nut – 4 mm

Use VR0100501 Screw – 10 mm and VR0050801 Nut – 4 mm. Attach VR0801001 Leg – bottom/foot to VR0902501 Leg – top using lower hole on one side and upper hole on the opposing side.
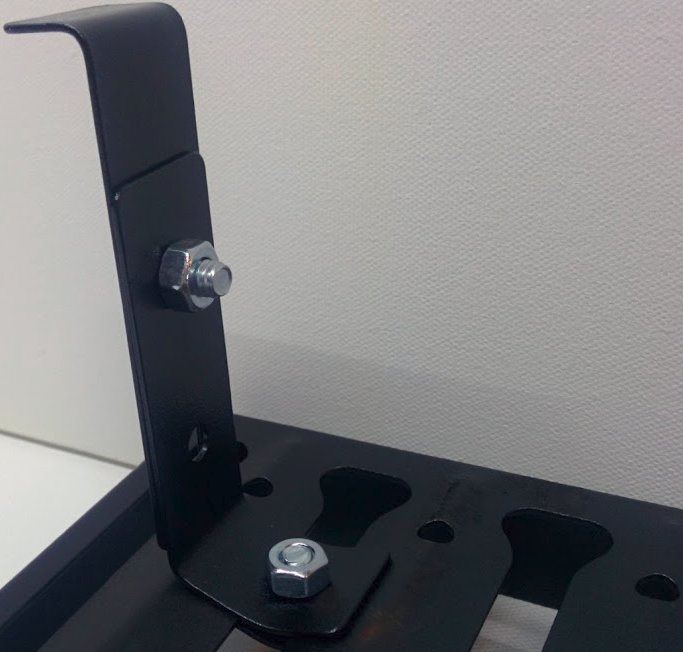
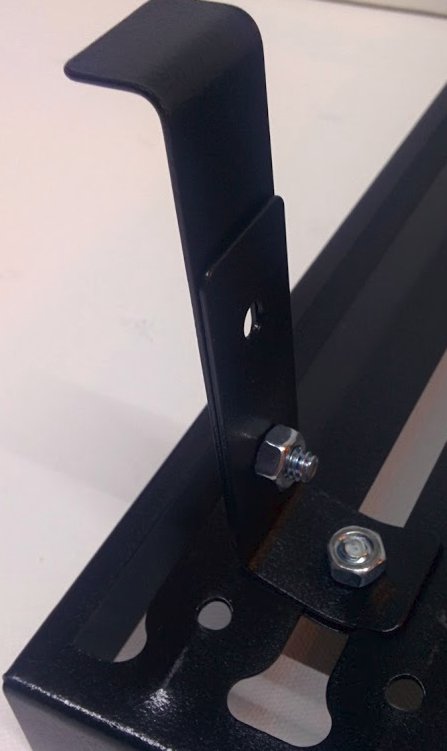
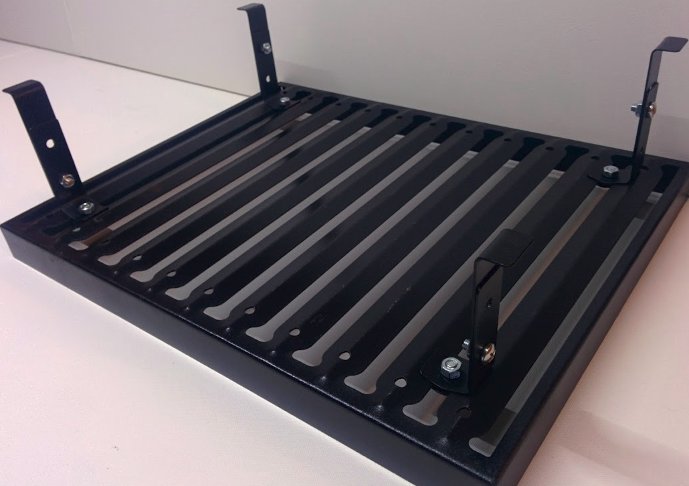
Repeat same process for each leg (4 total), 2 lower and 2 upper holes.
Tips for using the Lava Rock Grill Converter
- Turn your burners to maximum and close the grill lid, let it heat up for about 6 minutes or until the temperature reaches 400 deg F
- Open the grill lid and place your meat on the grill. Close the grill lid and set your burners to low heat. You can finish your grilling at the lowest setting, the efficiency created by the lava rocks allows this to occur
- When you are done grilling, close the lid again and set the burners at maximum setting for 5 minutes, this helps burn off remaining fats
- Although flare ups are minimized by the design of the lava rock grill converter, they can still occur if meat is excessively fatty. A spray bottle with water is handy just in case.
- Your lava rocks can last for many years, however we recommend replacing them every 2 years. Replacement lava rock will be available through our website, it is important to use the same type of lava rock. Not all are the same.
- Please send in your experiences and ideas to our website, including videos, so that we can share them with all our fellow lava rockers.